Showing posts with label birthday. Show all posts

Saturday, 15 February 2014

Lemon Yoghurt Cupcakes. For days when the weather is horrendous.

Thursday's hail
The weather has been absolutely horrendous lately.
Since that St. Jude's Storm back at the end of October, it feels like there's been no let up with all the wind, the rain, the hail (pictured above) and the flooding. Here in Egham, the flooding has been pretty bad - I've never been more grateful for Egham Hill, but our thoughts are definitely with those affected.

On a much much lighter note, I made lemon yoghurt cake yesterday. I was definitely in need of a pick me up, and as last night's storm began to kick off, cake was made. 


This is a Mary Berry recipe, which I've made before as Bryony's birthday cake, and it's seriously good cake. The first time I made it my flatmate Victor chewed the cake tin liners like chewing gum because apparently he reaaallly liked the cake. This time I made cupcakes, because my favourite thing about this cake was the crunchy, sugary, slightly caramelised surface that forms as it bakes, and cupcakes have more surface area.

I used Dove's Farm gluten free self raising flour, because that stuff makes life worth living for anyone who can't eat gluten. It's wonderful. Also I'm a big fan of baking with yoghurt, mainly because of these EPIC Blueberry Muffins. They're awesome.


Here's what you need:
300g caster sugar
50g softened butter (I use salted, because it adds a very slight savoury undertone to the sweetness)
3 large eggs, separated
225g Greek yoghurt
Grated rind of one lemon
175g self raising flour

For the icing: 
100g sifted icing sugar
About 1½ tbsp of lemon juice


1. Preheat the oven to 180C. I now have a gas oven (IT HAS FIRE AT THE BACK, what is that even about?!) so for me, that's gas mark four.
2. Beat the sugar, butter, and egg yolks together in a bowl. Add in the lemon and the yoghurt, and beat until smooth. 
3. In a separate bowl, whisk the egg whites together to a soft peak, then tip into the mixture. Fold it in carefully and slowly, aiming to keep as much air in the mix as possible.
4. Tip into a deep cake tin (with the base lined with greaseproof paper or baking parchment), or if you're baking cupcakes, distribute the mix evenly between cupcake cases. I ended up making about twenty cupcakes from this mix (two of which I dropped as soon as they came out of the oven. Whoops. I ate them anyway - this cake is really good). 
5. Place in the oven. The cake will take between an hour to an hour and a fifteen minutes. The cupcakes will take around twenty minutes. The cake is done when top goes an even biscuity brown colour, and if you poke a skewer in it should come out clean. 
6. For the icing, mix the sifted icing sugar and the lemon juice together, and when the cake(s) are cooled, pour over the top(s). I then topped my cupcakes with popping candy and some curls of lemon zest. Definitely ate these for breakfast today...

Bryony (dressed as Tilly from Tots TV) and I (dressed as Little Red Riding Hood) eat the cake in Bryony's kitchen. We're looking surprised at how good it tastes. It's SERIOUSLY good cake.

Friday, 27 December 2013

Blackberry and Elderflower Cakes

Hello lovely people! I hope you all had a brilliant Christmas. Mine has been very busy (isn't life always?) - I was in Paris with Fraser for four days, then finally got back to Cumbria to weather-madness and frantic Christmas preparations. There hasn't been time for a great deal of cooking, other than Christmas dinner, of course, though I do know that Zosia took her annual gingerbread house to a new level this year and made a gingerbread castle. As you do.

However, it's my birthday party this weekend and we're doing an afternoon tea type-thing, so to the kitchen! I'm planning on making little lemon drizzle cakes and more spiced Christmas biscuits, but I'm also hoping to re-create something I did this term. Enter please blackberry and elderflower cakes.


Ingredients (makes 12):
For the cakes
- 150g butter
- 150g caster sugar
- 3 eggs
- 3tbsp elderflower cordial
- 200g self raising flour
- ½tsp baking powder
- 1 tin of blackberries, drained (or 150g fresh)

For the buttercream
- 75g softened butter
- 275g icing sugar
- 2tbsp elderflower cordial
- 1 tin blackberries (or 75g fresh)
- 12 fresh blackberries
- few sprigs of lemon thyme
- elderflowers (if in season)

Method:
For the cakes
1. First, preheat your oven to 180°C and grab some muffin cases. If you have a muffin tin pop the cases in the holes, but if not don't worry, you can just use a normal baking tray.
2. Beat together the butter and sugar until light and creamy. You want as much air in there as possible, so give it some proper elbow grease!
3. Add the eggs and elderflower cordial, then mix in so there are no streaks.
4. Carefully fold in the flour. You need to make sure it's all mixed in whilst at the same time not beating out any of the air you've worked in, so be gentle with it.
5. Add the blackberries. I think the tins are genius - they're so much cheaper (unless it's blackberry season and you can pick your own) and are great to have in the cupboard, but just use whatever you can find.

Most beautiful cake mix ever?
6. Divide the mixture between the 12 cake cases, then bake for 20-25 minutes (depending on your oven) until a knife stuck in the middle comes out clean. Allow to cool.

For the buttercream
1. Beat together the butter and icing sugar until thick, light and creamy. Pour in the elderflower cordial and stir through.
2. Add the tinned blackberries along with a splash of the liquid from the tin (just to give an extra hit of colour) and stir in. If your buttercream is a bit runny, you can just stir in more icing sugar.
3. Transfer the mixture to a piping bag with a nozzle of your choice. Don't have a piping bag? Use a plastic sandwich bag and cut off one of the corners!
4. Once your cakes are properly cooled, ice away! Start from the outside and swirl in towards the middle.
5. Adorn each cake with a fresh blackberry and a couple of thyme leaves. You can also sprinkle over some tiny elderflowers if they're in season (June) for an extra bit of pretty.


Monday, 28 October 2013

We're Baking the Hobbits for James' House

Our good friend James had his 21st birthday last week, and to celebrate he had a hobbit party. I got to make the cake...


It was some of the most fun I've ever had baking. Plus it went down really well, and I got to wander through Englefield Green dressed as a hobbit, carrying a cake shaped like a hobbit hole. I'll miss being a student.

What a motley crew. Also I took my shoes off as soon as we got there, don't worry
The cake recipe belongs to Jamie and is a family favourite from what I gather - and I'm not surprised. YUM.

Ingredients (for the cake):
- 2 cups plain flour
- 1tsp salt
- 1tsp baking powder
- 2tsp bicarbonate of soda
- ¾ cup cocoa
- 2 cups caster sugar
- 1 cup sunflower oil
- 1 cup hot instant coffee (or hot chocolate)
- 1 cup milk
- 2 eggs, beaten
- 1tsp vanilla extract

Method:
1. Line a 9x12" rectangular baking tin with greaseproof paper, and heat your oven to 170°C.
2. Sift together the dry ingredients in a large mixing bowl.
3. Add the oil, coffee (or hot chocolate) and milk and beat for two minutes.
4. Stir in the eggs and vanilla and whisk.
5. Pour the batter into the tin, and bake for 40-45 minutes.

If you're planning on making your cake into a hobbit hole I recommend baking it the day before, so it can cool properly and the flavours can mature a bit before you decorate it. If you're hobbit hole-ing it up:

You will need:
- 1kg fondant icing
- icing sugar
- gel food colouring: red, yellow, blue, black
- a rolling pin (or empty wine bottle)
- 1tbsp jam, any flavour
- a pastry brush
- gum tragacanth (optional)
- cocktail sticks
- a sharp knife
- shot of vodka

Method:
1. Begin by putting the jam into a small saucepan, and heating until it's runny. Put to one side.
2. Slice about 2.5" off the end of your cake. Take the piece you've just cut off and shorten it so it fits on top of the larger cake (using the jam as glue), then stick the second cut-off on top and carefully smooth the corners. Then, cut a small, shallow groove down the middle of the cake. It should look something like this:


3. Grab your fondant icing and the blue and yellow food colouring. Sprinkle some icing sugar on your worktop, then knead the fondant icing until it's soft and malleable. Cut off 1/3 and put it to one side, then add the food colouring to the remaining 2/3 and knead in until you have the desired colour.
4. Sprinkle some more icing sugar, then roll out the icing 'til it's about 3mm thick. Using the rolling pin for support, drape the icing over the cake and smooth it down. Carefully cut off any excess.
5. From here on it's mostly your call. I made some grey coloured fondant and cut it out to look like paving stones. To stick them on, lightly brush with the vodka (I don't really know why this is but my Mum's friend's daughter makes cakes professionally and it's what she uses, so I just go with it).


6. Mix some icing sugar with a splash of water and yellow and blue food colouring, then either grab a piping bag or just spoon it over the cake to resemble grass.
7. Create yourself some brown fondant, and cut out a round door and window. To give the wood effect, mix the colours in a small pot and then literally paint it on. Grab a cocktail stick and make the grooves, then dip the stick in the black colouring and paint where the grooves are. If you're feeling super nerdy you can also make yourself a little door handle and scratch in Gandalf's mark.


8. Make a few strips of pink fondant and roll them up into roses, and accompany with leaves (which Zosia kindly made for me). For the fence, cut a handful of cocktail sticks in half and stick them into the 'grass', then use a few splodges of the water icing to secure more cocktail sticks to lie across horizontally.
9. Aaaaand you're DONE. Now dress up like a hobbit and take it to your friend's house while you sing THIS all the way there.


Saturday, 10 August 2013

Courgette Cake and a Lowry Jigsaw

It was Fraser's birthday last weekend. Sadly, there has yet to be an opportunity to make birthday pie, but we had a very nice time with a bit of walking, Fraser's mum's courgette cake and a 500 piece L.S. Lowry jigsaw (which it can only be assumed was created by a sadist).


So technically this post is cheating a little bit because I didn't make the cake, BUT I will definitely be doing so soon, as our courgette plants are producing courgettes like there's no tomorrow and we have 6 as big as your forearm sitting on our kitchen windowsill. Not even joking.

Also: courgette. In a cake. I know it sounds weird, but I promise you it isn't. It's wonderfully moist and sweet and a little bit spiced, and you should make it.

Ingredients (makes 2 loaf tins worth):
- 2 cups plain flour
- 2 cups sugar
- ½tbsp cinnamon
- 2tsp baking powder
- 1 cup sunflower oil
- 2tsp vanilla extract
- 3 eggs
- 2 cups finely grated courgette
- 1 cup raisins
- 1 cup chopped nuts

Method:
1. Preheat the oven to 180°C and grease two loaf tins (if you can find a way to use half an egg, then by all means half the whole recipe and just use the one tin!).
2. Sift together the flour, sugar, cinnamon and baking powder in a large bowl. Then pour in the oil, vanilla and eggs and mix well.
3. Add the courgette, raisins and nuts and stir together.
4. Divide the mix between the two tins then bake for an hour, until a knife in the middle comes out clean.

Fraser reckons the jigsaw took us about 10 hours in total, and I'm not sure we could've done it (at least without it taking even longer) without cake for fuel. I'm planning on having some handy for essays once term starts again, 'coz if it can get me through that jigsaw, it can get me through anything!


Sunday, 28 April 2013

Happy Birthday To Us (now have a cocktail)

A year ago today, we sat in the kitchen and wrote about how much we were kicking ourselves for not having blogged sooner. Today, we've reached over 10,000 page views, have a facebook page and twitter account and 148 followers that we're aware of, as well as a recommendation from the Vegetarian Society. LIFE IS GOOD. Now have a cocktail.

My Dad and his partner Andy just got back from a spectacular holiday in Brazil, which seems to me to have mainly consisted of drinking alcohol on a beach. And in Brazil, they drink Caipirinhas. Like so.


The recipe is a bit rough, as it's word-of-mouth from Dad who got it from his Brazillian friend Benjamin, but here goes...

Ingredients: (per glass)
- 1 lime
- 1½ tbsp caster sugar
- 4/5 ice cubes
- enough cachaça to fill your glass 

Also, if you can't get cachaça I think the closest match would be white rum (though then it's technically called a Caipiríssima. Yeah).

1. Give the lime a good scrub, then cut into eight pieces. Then go and find the nearest thing you can to a pestle and mortar. I suggest a jug and the end of a rolling pin.


2. Add the sugar, and smush. That's a technical term. SMUSH IT GOOD. Then add the ice and smush some more. 
3. Add the cachaça and mix, then pour into a tumbler and voila! You can obviously adapt all the quantities depending on how you like it. There's a chance that I like it A LOT and so am currently a bit tipsy. But I am a student after all...

Monday, 10 September 2012

I always wanted to be Snow White

I thought she was awesome. She was the only Disney princess who looked anything like me - ie. had shorter, dark hair. I had the dress and hairband and everything. The particular bit I'm thinking of though is this:


 Watching it back now, no wonder she has lips red as the rose with that amount of make up on, and my pie totally looks better and also much more hygienic. Guess what this post is really going to be about:


There's something of a growing tradition that for Fraser's birthday I make him 'birthday pie', and so this is this year's attempt. Last year's didn't go so well (completely not my fault) so there was a fair amount of pressure, but I totally pulled it off. Also it's an apple pie, by the way. I probably should have said that sooner. Because even though Snow White made a Gooseberry Pie, "it's apple pies that make the men-folks' mouths water" as her evil stepmother so wisely said. Promise mine isn't poisoned though.

For the pastry (a sweet shortcrust - recipe from 'The Great British Book of Baking' by Linda Collister): 
- 225g plain flour
- pinch of salt
- 60g caster sugar
- 125g unsalted butter, diced and chilled
- approx 3tbsp of very cold water.

Yes, you could buy pastry, but I love making it and I think it's awesomer if it's your own. Also I make it by hand rather than in a food processor. Definitely not because I still want to be Snow White or because I can't afford a food processor.

1. First of all, I'd suggest putting a small cup of cold water in the freezer while you do other things to make it uber-cold. Then sift the flour, salt and sugar into a bowl. Add the butter and, using the tips of your fingers, rub it into the flour mixture until it looks like breadcrumbs. 
2. Using a palette knife (or a butter one which is all I have), stir in enough cold water to bind it all together and make a soft but NOT sticky dough. You can add more flour if necessary, but it's better to just be careful with the water.
3. Being careful to work it as little as possible, wrap the ball of dough in clingfilm and put it in the fridge for at least 20 minutes while you make the filling. This does stuff to the gluten that I don't fully understand but I do know that I've forgotten to do it before and it was bad. So chill your pastry.

For the filling:
- approx 1kg Bramley apples (4 big 'uns)
- 4 tbsp caster sugar
- zest of half a lemon
- squeeze of lemon juice
- 1-2tsp ground cinnamon
- 25g melted butter
- 1-2tbsp water

1. Peel, core and chop the apples and place them in a big bowl of water to which you have added a massive squirt of lemon juice. This will stop them going brown but won't make them taste solely of lemon. This may have been my mistake the first time around.
2. When all the apple is done and you're ready to move on, drain the water (probs easiest to just tip the apples into a sieve and then transfer back) and then add the sugar, zest, cinnamon and butter and stir gently to coat.
3. Get your pastry out the fridge and cut off a third, then roll that out into a circle slightly larger than your pie dish (mine was 22cm in diameter and 3cm deep. IF you don't have a pie dish then you can use the lid of a casserole dish. Or just buy one. They're cheap and exciting.). This will be the base. Then sort of wrap the pastry lightly around the rolling pin, and let it unfurl over the dish. Press all around the bottom and sides to make sure there's no air trapped - you can use your fingers or a spare bit of pastry. Don't trim the edges.
4. Spoon the filling onto the base, and then add the water. Roll out the rest of the pastry into a circle large enough to cover the top, then brush the rim of the base with water and place on the top using the rolling pin method. Gently press together the pastry of the base and the top to seal it, then take a sharp knife and trim the excess pastry. You can use this to make decorations, which stick on with a bit of water.
5. Assuming you don't have any woodland creatures/birds handy to do the job for you, use a fork or your fingers to scallop the rim. Make sure you've cut a couple of slits to act as air holes so your pie doesn't explode, and then brush with a beaten egg.


6. Bake for approximately 35 minutes at 180°C, then when the pastry is all golden and lovely take it out the oven and sprinkle with a bit of caster sugar. Serve with cream, ice cream, creme fraiche, custard... whatever takes your fancy.


I am the new Snow White. No, the animals didn't help me make my pie, but I could totally see them from every single window of the house. And also Fraser whisked me off to Paris a couple of days after I made my pie, which is almost exactly the same as being awoken from your apple-induced-coma and riding off into the sunset.
It's like my very own Disney film.

Thursday, 26 July 2012

"WHAT have you done to my kitchen?!"

Is invariably the response I get from Mum when, once a year, I embark on the quest that is Jenny's Birthday Cake. I've been making people birthday cakes for years but until a while ago I'd never attempted anything really fancy - but then it was Jenny's 18th (and she's really awesome), so effort was made. This was the result:

There's a story behind the cow.
It went down brilliantly and was really yummy, and I happily considered it my best baking achievement. But then this year I had to try and beat it. ERK. So, I altered my recipe for chocolate and raspberry cupcakes that everyone always loves, and this is what happened.

The cupcake recipe:
- 4oz/100g softened butter or margerine
- 4oz/100g caster sugar
- 2 eggs
- 5oz/125g self raising flour (can be gluten-free if you need it)
- 1/2 tsp baking powder
- 1oz/25g cocoa powder
- 1tsp vanilla extract
- 4oz/100g fresh or frozen raspberries
- 2oz/50g chopped up chocolate

I altered this a bit to get the amount I wanted - I had two 9" springform tins and actually fiddled the recipe to a 3 egg/125g version, but then for some reason I doubled that... so then when the cake was put together it turned out MASSIVE. Miscalculation of amounts there... BUT it was still awesome. And I can guarantee that having more of it was no bad thing!
To successfully make a normal size cake, use 125g of butter + sugar; 3 eggs; 150g flour; 1/2 tsp baking powder; 30g cocoa powder; 1 tsp vanilla; 125g raspberries; 75g chocolate.

1. Begin by pre-heating the oven to 180°C, and greasing your cake tins. Something I've discovered recently is that if you also dust the tins with flour it helps with the non-sticking, which is particularly useful with things like bread.
2. Beat together the butter and sugar A LOT until you think it looks done, then keep going for another couple of minutes. The more air you get into this the better the cake will be - my Grandma swore by it.
3. Beat in the eggs and vanilla extract until you have a silky smooth batter.
4. Add the flour, cocoa powder and baking powder and fold in with a metal spoon. I'm not sure why you have to use a metal spoon but everyone always says so... if I find out I'll blog it.
5. Add the chocolate and the raspberries and mix carefully - you don't want to destroy the raspberries too much.
6. Spoon the mixture into the tins, using a spatula to get it all out the bowl, and bake for about 30 minutes (20-25 if you're doing the cupcakes). Once a knife inserted into the middle comes out clean, remove them from the tins and put them on a wire rack to cool.

Additional things you will now need:
- MORE raspberries. Approximately a small punnet. Judge from the picture below.
- raspberry jam
- chocolate butter icing (whisk together some butter and icing sugar until it looks like butter icing, then add some cocoa powder to make it chocolatey)
- royal icing
- some form of decoration: I used sugarpaste and writing icing

7. Spread a layer of raspberry jam onto one of the sponges - whichever you want to be the bottom one. I use whichever is slightly flatter for the top, as it makes icing etc easier.
8. Add a layer of raspberries. Feel indulgent and also healthy because it's fruit.
9. Cover with buttercream. Feel even more indulgent.
10. PUT THE OTHER SPONGE ON TOP. I find this very excitng. My sister says I need to get out more.
11. Warm up about a tablespoon more of raspberry jam (but don't put the metal spoon in the microwave, obv), and brush the entire cake with it. There doesn't need to be loads, but this helps the royal icing to stick, and tastes nice to boot.
12. Using some icing sugar to prevent sticking, roll out your royal icing. Use the rolling pin to lift it, and place over the cake. Smooth out as best you can, then cut around the bottom with a sharp knife. THEN make a ball out of some of the left-over icing and use that to make the icing on the cake super smooth.
13. Decorate. I used black sugar paste and bought a little craft knife, and made the first bit of the music score for 'happy birthday', because Jenny is a big music person and I thought it was cool. Stick down using vodka (!), or edible glue if you think you'll use it enough for it to be worth the money. I then did a big '19' because I realised there was no way I could do the whole song.
You haven't lived until you've made a 3.5cm treble clef out of sugar paste.

14. When you're happy with the decoration, use a pin to attach a ribbon around the bottom. This isn't strictly necessary, but as well as looking pretty it hides any icing mistakes, so win-win.
15. Present to impressed friend and enjoy getting to eat it. VOILA.


And for the record, the kitchen wasn't that bad. Not really. I tidied up...

Sorry Mum.

Tuesday, 29 May 2012

Birthday Food

I have always thought that what you have to eat on your birthday is very important. This most likely stems from Mum annually spoiling us with culinary delights, but it's not just a man's heart that can be reached through their stomach!

And so, when our dear Jamie came over a few days ago for her birthday I cracked the foody whip - and the birthday breakfast consisted of fruit, yoghurt, and homemade granola. Not difficult to make but so scrumptious you will spend the rest of the morning trying to get oats out your teeth just for the flavour. I kid you not.

To make enough granola for two, you need:
50g oats
25g demerara sugar
25g mixed seeds (linseeds, pumpkin, sunflower - whatever you like)
25g butter


Preheat the oven to 200°C. Put the oats, sugar and seeds into a baking dish and mix, then divide the butter into small pieces and sprinkle. Stick it in the oven for 15 minutes - BUT take it out at five minute intervals to stir, or it will burn.

Meanwhile, prepare your fruit. I used strawberries, raspberries and blueberries, but grapes or slices of banana are lovely too. Divide between two plates and add a generous dollop of natural yoghurt to each. When the granola's done divide that up too, and voila! If you're feeling super indulgent as we were, you can also drizzle over some maple syrup or honey (maple syrup is the best, but Tesco had none. Shame on them!).


You have to use plastic plates. To spend the day washing up instead of entertaining your birthday-having friend would just be rude.

For lunch, we took a picnic and skipped off to the Savill Gardens. There was lots and lots of food including my favourite ever Philadelphia cream cheese and cucumber sandwiches, and, of course - Birthday Cake.

Capitalised, because it deserves it.

Jamie opted for a coffee cake and I needed something wheat-free so Zosia could have some too, so Lorraine Pascale's Gluten Free Irish Cream Coffee Cake was the perfect solution.

I couldn't find the recipe anywhere online, so I took a photo from the book:

(I hope that's clear... I can post a bigger photo on request!)

I made the sponges the night before - mostly due to time constraints on the day - but also because the flavour of any coffee/chocolate cake will intensify the longer it's left for. Win-win situation. Also, I found with this recipe that the buttercream was just too runny after adding the Bailey's, so I stuck in extra icing sugar to give it more structure.

And here it is:


Would you LOOK at that. Amazing purple glitter courtesy of one of Mum's brilliant cheer-up parcels. Sadly the buttercream didn't stay quite so intact when confronted with a 20 minute walk at 28°, but it just made it all the more fun to eat. And to watch people eat. Like this:


Birthdays are fantastic.

Sunday, 13 May 2012

"You're NOT allowed to ice Rebecca."


I made a cake. One day I will post a recipe for this cake, because it's a rather epic cake, but this is more of a story about what happens when you tell me not to do a thing then sit me at a table with icing for an hour.

The cake was for Joel, whose birthday I flaked out on last week because I'm awful like that... Hopefully cake makes up for this... Rebecca wasn't there either, and I decided to bring her along as well as the cake when I went to give it to him.

Except I dressed her up as a cake because Joel told me not to.

Specifically I wasn't allowed to "ice Rebecca" and that never happened. And I was considering making a proper four tier wedding cake costume but I didn't have enough card. Saddest day of my life. 


Although here is Rebecca. Dressed in the most socially acceptable cake costume I've ever seen...

(Also yes. I did decorate my cake as a patchwork quilt in honour of our "Rich Tapestry of Life: A Social and Cultural History of Europe" course. This proves that baking counts as revision.)


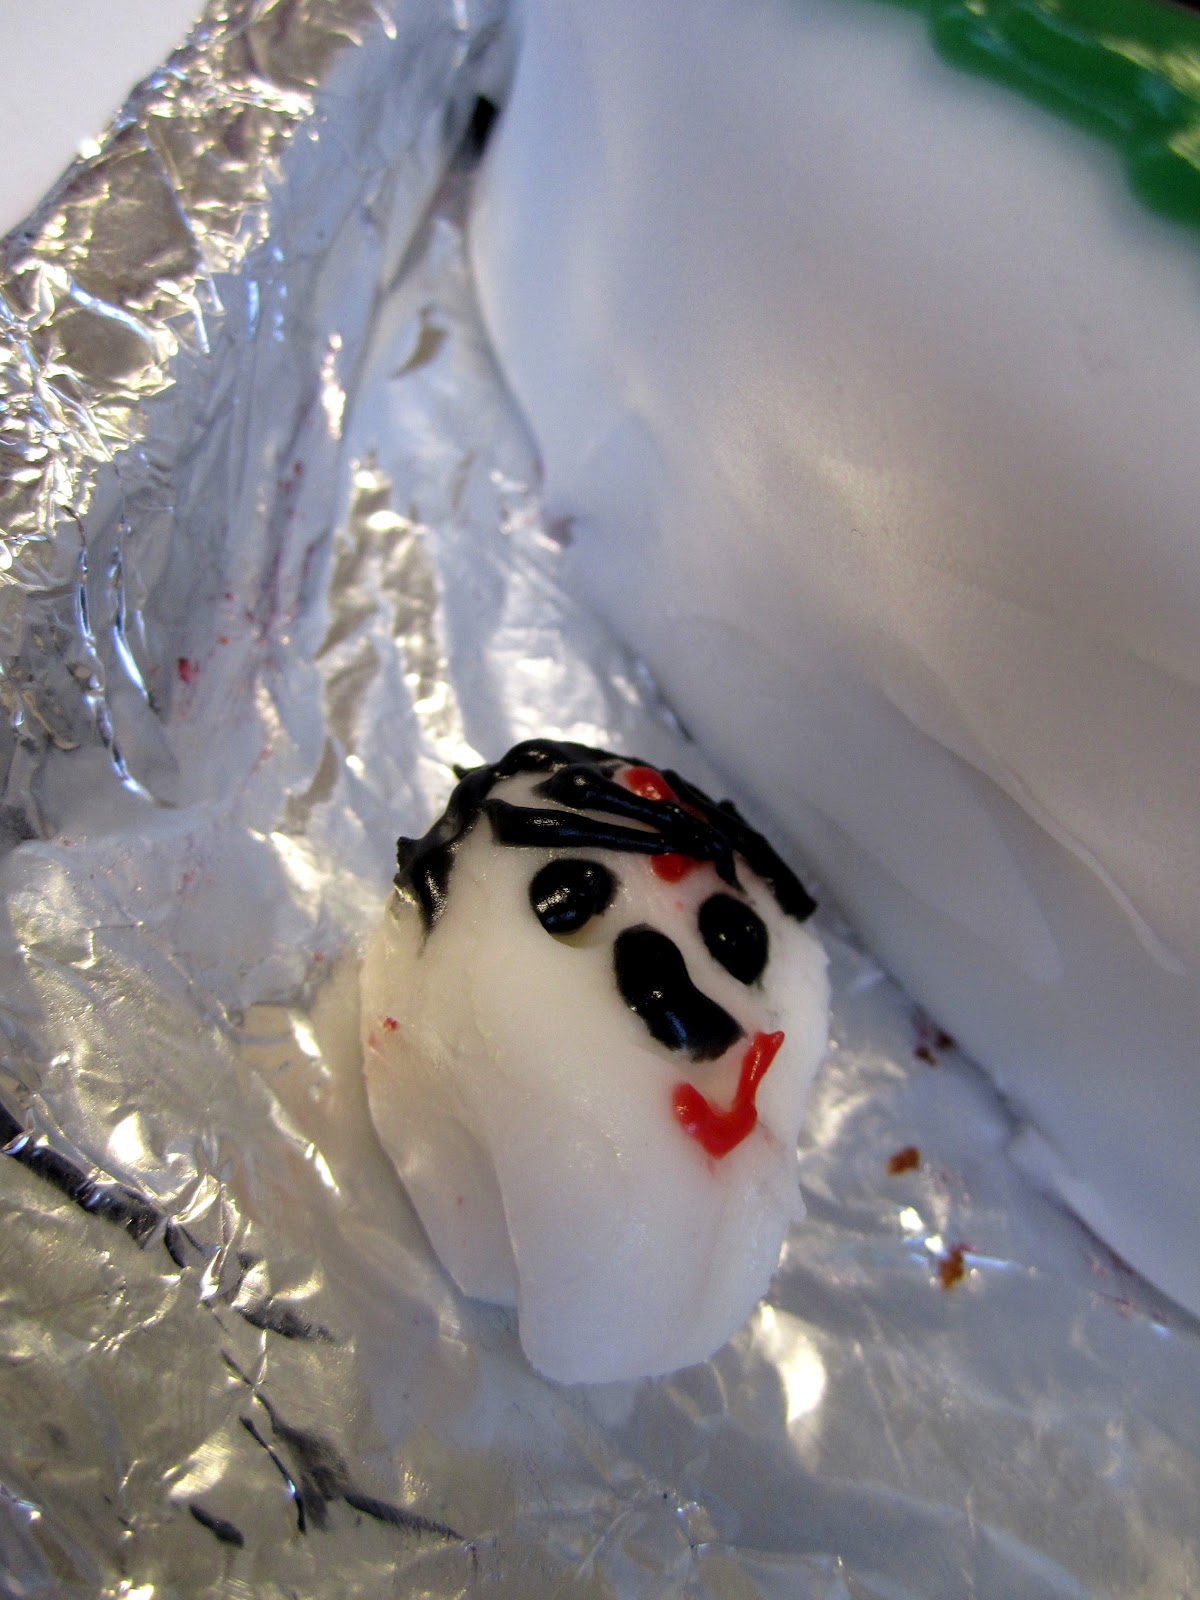
And while I was having an argument with the black icing pen about why it wasn't flipping well working and whether or not it could get its act together if possible please and thank you, Rebecca and Bryony made the entire cast of Harry potter out of icing.


We have a Voldemort, a Quirrel, a Hedwig, a Harry, a Snape, a Ron, a Dobby, a Dumbledore and a Hermione.

This is a gratuitous picture of me holding the Rich Tapestry of Cake.


Joel liked his cake. And I gave him some vodka slush.

Wonderful.